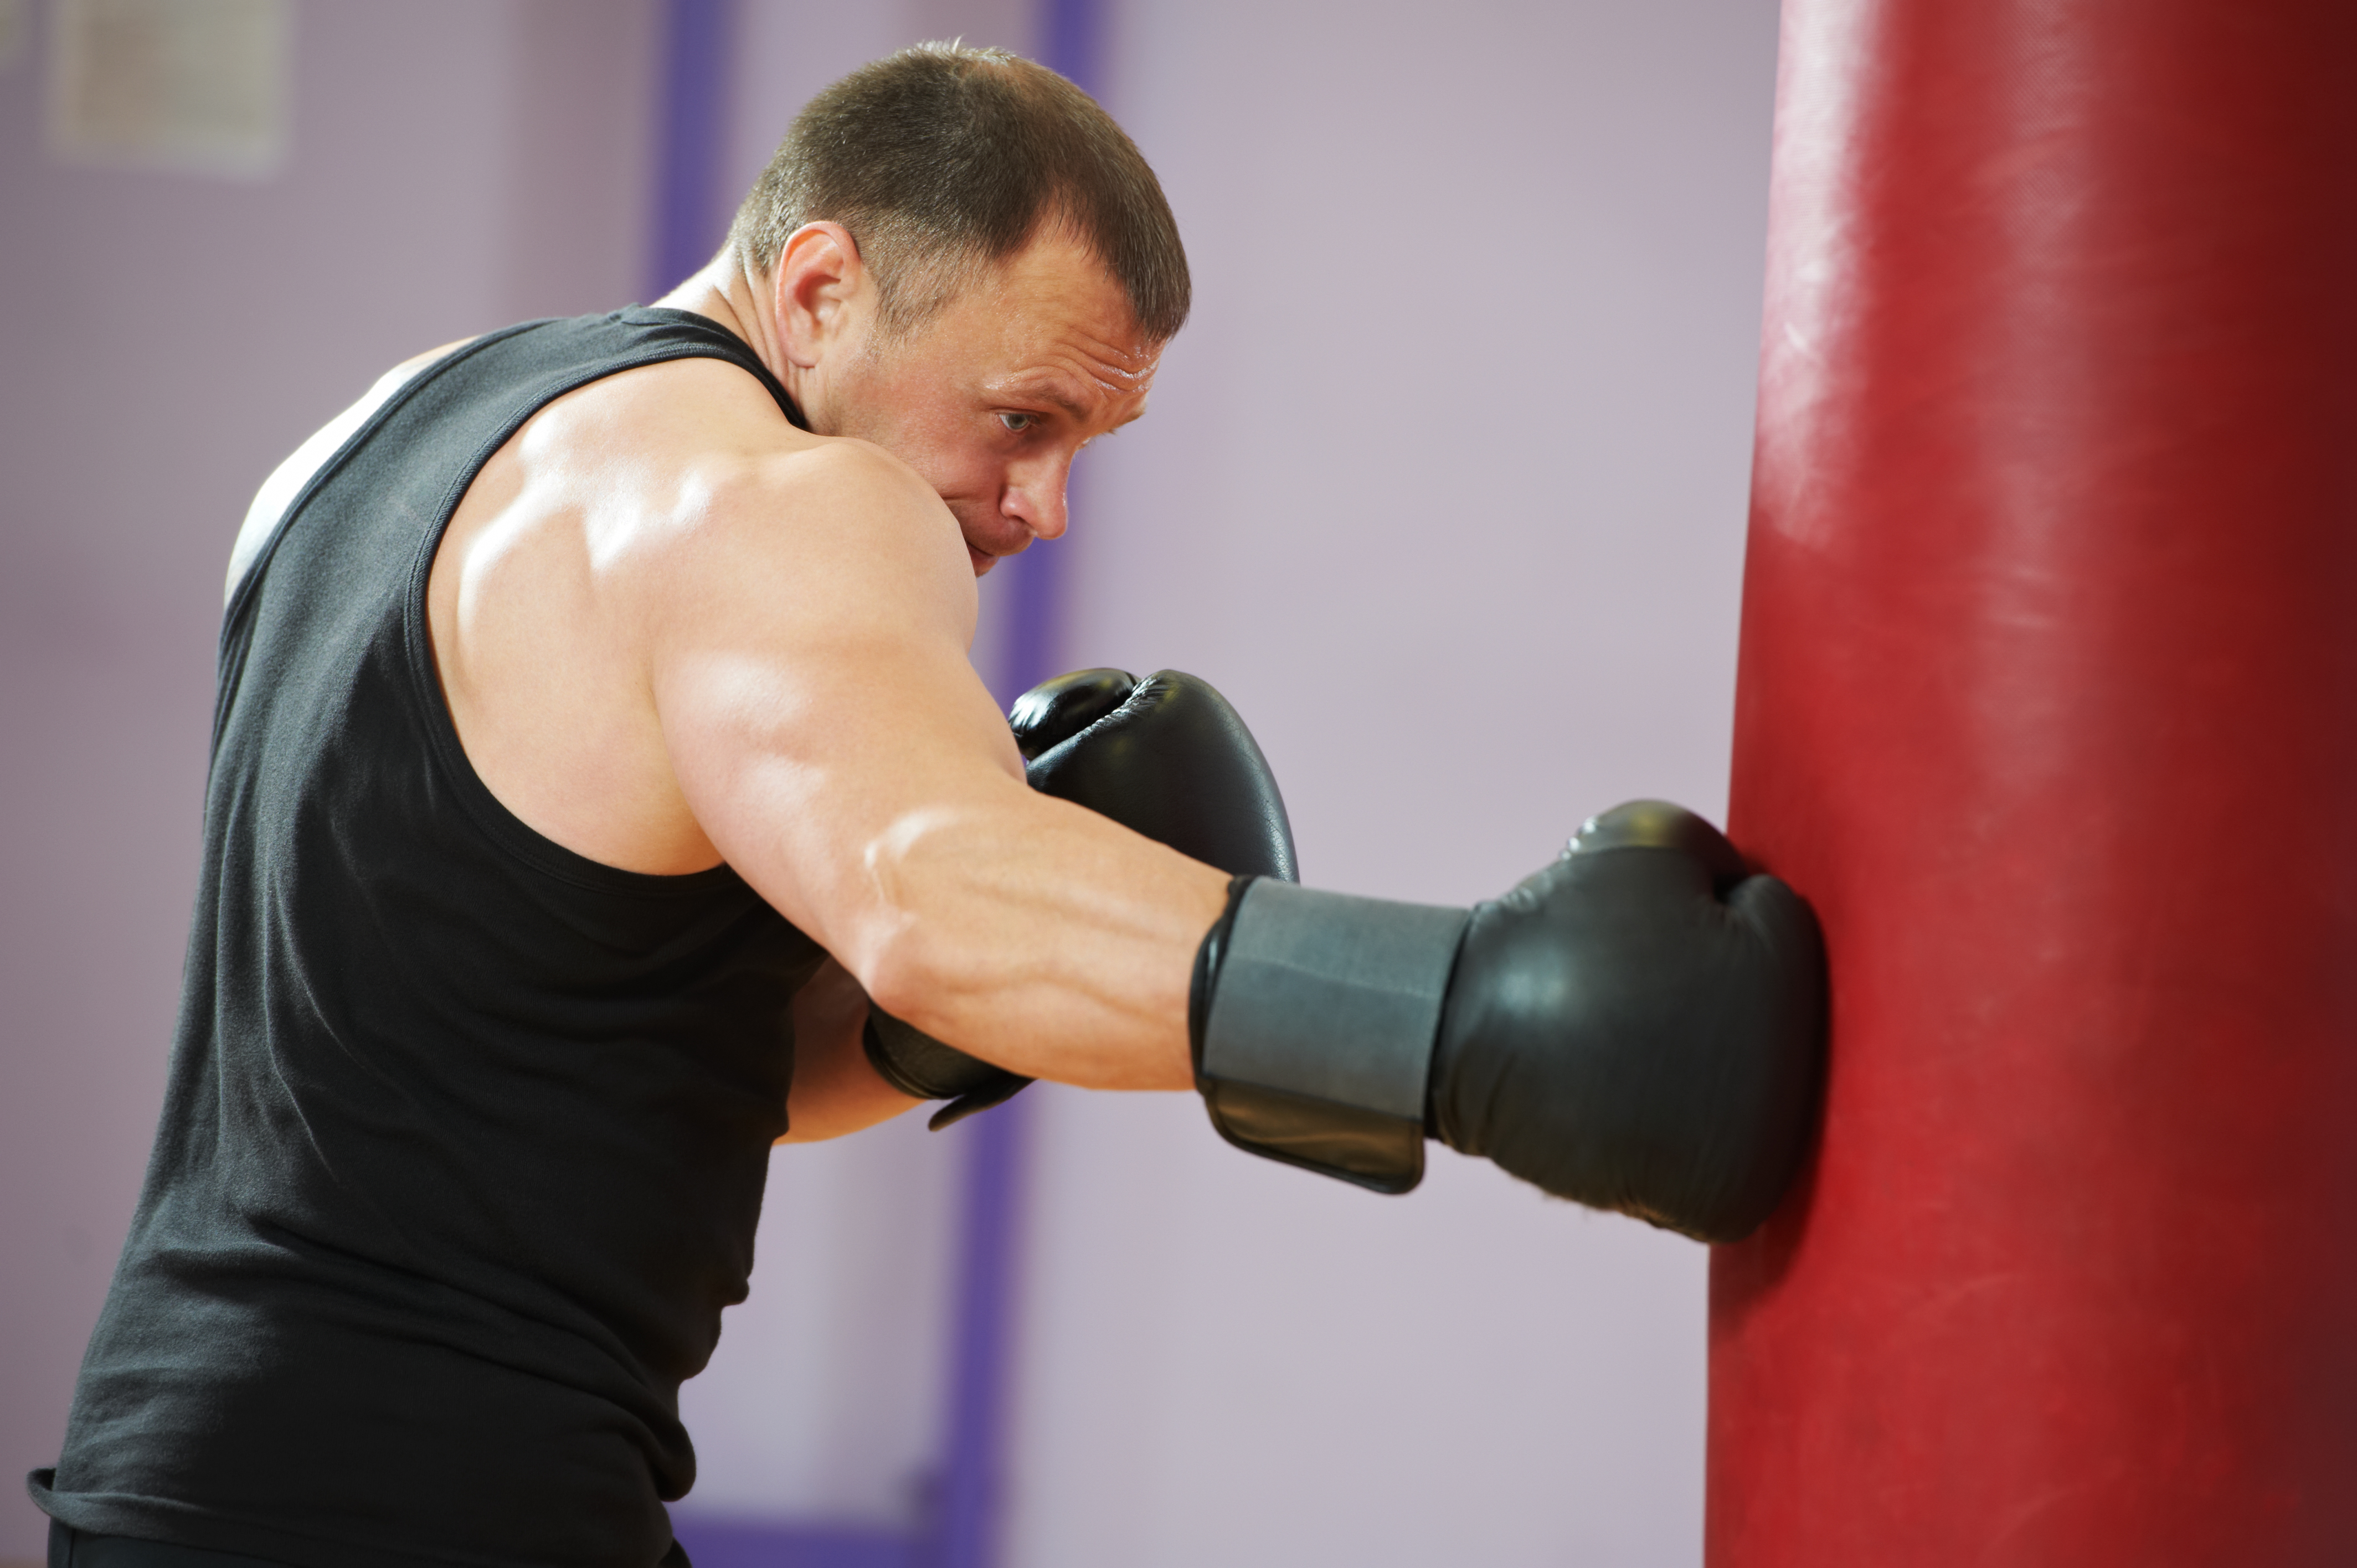
Training from home or solo, the heavy bag will be your best friend and most important tool.
But without a trainer or training partners how is it possible to improve your technique?
That is the focus of this heavy bag workout – practicing and improving your muay thai technique.
In a previous post you can access here I outlined how to put together your own muay thai workout at home an integrated all elements from Warmup to Strength and Conditioning and Bag Work.
But in this post I want to focus on the heavy bag portion and specifically on technique and skill development while training solo at home on the bag.
This workout can be done in minimum time – about 25 – 40 minutes and can be modified to make it longer or shorter.
Whether you can’t get get to the gym regularly or you don’t have access to a muay thai gym in your area, all you need is a heavy bag and some concentrated effort and you can make constant progress toward improving your technique.
What Type of Heavy Bag To Use
I have discussed previously the different types of heavy bag that are the best for someone training muay thai.
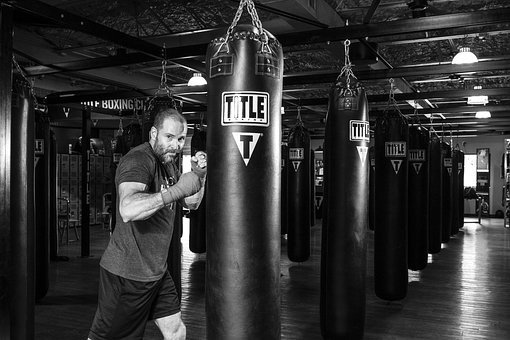
In short, in order to get the most out of your heavy bag workout, specifically for muay thai I recommend the Thai bag or banana bag.
This will allow you to include low kicks in your workout which is something not possible with a standard sized heavy bag or the teardrop bag.
However if you are training at home or in a rural setting with very limited equipment then whatever type of bag you can get a hold of will still be extremely beneficial to improving your technique.
Technique Focused Heavy Bag Training
This workout presented in this post will focus on technique and improving your technique through putting in the reps with good form.
As the saying goes, “Practice doesn’t make perfect. Practice makes permanent. Perfect practice makes perfect.”
So this heavy bag training workout is one you can perform a couple of time a week to focus on your technique and refining your combinations as well as each individual technique.
So how will this heavy bag workout help you improve your technique? What makes it different from other heavy bag training workout?
It is in the focus you put in to each component of the sessions where you will be able to improve your technique. Refer to the Points to note at each of the components that make up the 6 rounds of this workout to really focus in on those aspects of the techniques you perform.
Focus on clean, crisp technique. This may mean you will have to sacrifice power and speed. But as technique is the focus of this training workout, you can train your power, speed and conditioning on separate days.
When training alone, dividing your sessions up into improving different areas (technique, power, speed, conditioning) helps keep your training fresh and enjoyable and motivated over the long run.
This heavy bag workout is structured in a way that I have used to help improve my technique through training solo and I am sure your technique can benefit from it also.
I would recommend filming yourself work the heavy bag or perform in front of a mirror if you can.
As this is a home based/solo training technical workout – you won’t have a trainer watching you so you have to be able to review your technique yourself and compare with what you have learnt here or in other instructionals.
Warm Up
As with any group training class in the gym or academy the warm up is important to get the blood flowing, loosen up and sweat a little so the body is nice and warm.
This will help to prevent muscle injuries and allow you to perform your strikes with more power and technique as they will be primed and ready to go.
In a standard muay thai session running is the most favored form of warmup. In Thailand running from 3-10km before a session is common for professional thai boxers.
In a gym setting jogging and alternating with between high knees, butt kicks and sideways shuffles are good when there isn’t enough time or space to be out on the road putting in a 30 min jog before training.
Skipping rope and tire jumping are also standard exercises as part of a normal muay thai warm up session.
Shadowboxing is usually the last part of your warm up before moving on to the heavy bag and other training in a normal gym session such as thai pads and partner drilling
Here is what a good warm up would like look for your heavy bag session if you are training at home with limited space.
i)Running
Jogging on the sport for 30 secs
High knees for 30 secs
Butt kicks for 30 secs
Repeat (this will give you one 3 min round)
Do this for at least 1 round of 3 mins but you can do up to 3 rounds if you wish.
ii)Skipping
Skipping for 3 – 5 mins for 1 -2 rounds.
iii)Shadow Boxing
This is where you really start to zero in on your technique and make sure you are executing each strike with crisp clean technique and covering yourself from counters with your hands up and returning to a good stance.
You should do 1-2 rounds of 3-5 minutes.
Technique Heavy Bag Workout Proper
Round 1 : Boxing (Jabs, Cross, Hooks, Uppercuts)
There are three different techniques in this boxing portion of the workout. Do them for one minute each to make up a 3 minute round.
- Opposite Strikes – to practice shifting your weight and using your hip, shoulder and foot rotation to drive your strikes.
- Level Changes – varying your attacks by hitting different targets i.e body, head, body punches and vice versa
- Double Ups – same side punches, this also varies your attacks and helps practice reloading your strikes
Specific combos and time to practice in rounds are given below.
Points to note:
- Begin by being out of range of the heavy bag. So you have to take a step to engage and bridge the gap. This is more realistic when fighting or sparring.
- For all punches keep the opposite hand to the punching arm touching your face. i.e Left jab, right hand touching your face.
- For all punches, draw the punching hand straight back to your face after throwing the punch.
- Jabs : When you Jab you should always take a step forward to reach the bag. The jab is commonly the strike you use to bridge the gap. If you don’t step forward you will be overreaching without a good stance.
- Cross : Rotate your back leg and hip and draw power from the ground up. Opposite hand touching the face.
- Hooks : Palm down or palm facing you – both are viable. But keep your shoulder up to your chin on the hooking arm.
- Uppercuts : Chin down and behind your uppercutting arm as it is thrown out.
Here’s how to divide up your boxing rounds:
Opposites: (1 min)
Points to note:
- Opposite side punches help develop your coordination and utilizing your hips and shoulders to drive your punches.
- Throwing one punch and rotating your shoulder and hips helps to load your opposite side. i.e Throwing the jab helps load the cross. The Cross helps load the hook.
- As one punch extends out the other punch returns to your face for defense.
Here are the 'Opposite Combos' - practice on the bag for 1 min in Round 1.
These are also the most basic but effective combos in boxing.
 Jab, Cross
 Jab, Cross, Hook
 Jab, Cross, Hook, Cross
 Rear Uppercut, Lead Hook, Cross
 Hook, Cross, Hook
 Cross, Hook, Cross
Double Ups: (1min)
Points to note:
- Doubling up your punches is a little more advanced.
- Focus on “reloading” your punch on the same side in a good defensive frame before doubling up.
Here are the double up combos, practice them for 1 minute:
 Double Jab, Cross
 Jab, Lead, Hook, Cross
 Lead Hook, Jab, Cross
 Lead hook, Lead Hook, Cross
 Rear Uppercut, Cross, Lead Hook
Level Changes: (1 min)
Points to note:
- Another more advanced technique.
- Remember to keep a good defensive frame when changing levels i.e when changing level and squatting very slightly to throw the rear straight to the body
- Keep your lead hand up and don’t lean forward and expose your chin.
Here are the combos for 'Level change' punches, perform for 1 minute:
 Jab, Cross to Body, Lead Hook
 Rear Body hook, Lead body hook, Lead hook, Cross
 Body hook, Head hook, Cross
 Rear Uppercut, Lead Hook, Cross to Body
Round 2 – Teeps (push kicks) and Knees
Points to note for Teeps:
- Lead Teep : Important to narrow your stance by bringing up your rear foot and forming the ‘L’ stance.
- Rear Teep : Step out your lead foot slightly on an angle to maintain your balance for throwing the rear teep
- For teeps lift the knee straight up and extend out push kicking your target by extending and straightening the foot and hitting with the balls of your feet.
Points to note for Knees:
- Rear Knee : Small step forward on lead foot, slightly turned out.
- Drive off lead foot by getting on your toes.
- Thrust up and in on an angle with rear knee by pivoting on your lead foot a little.
- Rear arm (same side as knee being thrown) extends out straight and touches the bag with chin down and behind your extended lead hand.
- Rear hand up by chin.
- Lead Knee : 2 Options – either switch knee or step knee depending on distance
- Switch Knee: switch stance in quick motion so your lead leg becomes your rear leg.
- Step Knee : Step forward with rear knee into opposite stance.
- Drive off lead foot by getting on your toes.
- Thrust up and in on an angle with rear knee by pivoting on your lead foot a little.
- Rear arm (same side as knee being thrown) extends out straight and touches the bag with chin down and behind your extended lead hand.
- Rear hand up by chin.
Here are the combos for Round 2 and times to perform them:
Hands and Teeps (1 min)
 Jab, Lead Teep
 Jab, Cross, Rear Teep
 Jab, Cross, Hook Lead Teep
 Jab, Cross, Hook, Rear Teep
Teep to Knee (1 min)
Jab, Lead Teep, Rear Knee
 Jab, Cross, Lead Teep, Rear Knee
 Jab, Cross, Hook, Rear Teep, Lead Knee
Knee to Teep (1min)
 Jab, Rear Knee,  Lead Teep
 Jab, Cross, Switch Knee, Lead Teep
 Jab, Cross, Hook, Rear Knee, Lead Teep
Round 3 – Punch-Kick Combos
Opposites for the full 3 minute round. Finish your combo with the opposite side kick from the last punch thrown.
Here we practice the basic punch to kick combos, using our punches to get our opponents guard up and then striking with the roundhouse kicks.
Points to note: Roundhouse kicks
- Rear roundhouse : step forward and slightly on and angle to open up your hip
- Pivot on lead foot
- Lead hand to the face for defense
- Rear arm swings down
- Step and drive off lead leg and foot
- Rear leg straight and foot pointed straight and swing through driving off lead leg and foot, pushing of your lead foot and toes into the ground.
- Lead roundhouse : as with the knees you can switch stance so your lead leg becomes the rear leg
- Pivot on lead foot
- Lead hand to the face for defense
- Rear arm swings down
- Step and drive off lead leg and foot
- Rear leg straight and foot pointed straight and swing through driving off lead leg and foot, pushing of your lead foot and toes into the ground.
Round 3 - Here are the combos to perform for the full 3 minute round:
 Jab, Rear Round house (10 times)
 Cross, Switch Roundhouse (10 times)
 Jab, Cross, Switch Roundhouse (10 times)
 Jab Cross, Hook (Low kick 10 times)
 Jab, Cross, Hook, Cross, Switch Roundhouse (10 times)
 Jab, Uppercut, Lead Hook, Rear Roundhouse (10 times)
Round 4 – Elbows
Here the focus is on the downward slashing elbow. Uppercut elbows and spinning/jumping elbows will come later.
Points to note for elbows:
- Remember when you are in range to elbow – you are in range to get elbowed also!
- Opposite hand to throwing elbow should guard your face touching your forehead.
- Drive your blow by initiating the elbow strike from flexing your wrist down and inward.
- Drive through with your shoulder and drawing power from the ground through hips
Here are the combos for Round 4:
Hands to Elbows: (1 min)
 Jab, Lead Elbow
 Jab, Cross, Lead Elbow
 Jab, Cross, Hook, Rear Elbow
 Uppercut, Hook, Cross Lead Elbow
Knees to Elbows : (1 min)
Jab, Rear Knee, Lead Slashing Elbow
Cross, Switch Knee, Rear Elbow
Jab, Cross, Switch Knee, Rear Elbow
Repeat Hands to Elbows from above (1 min)
Round 5 and 6 – Freestyle all techniques
Points to note:
- Keep good technique and form.
- You don’t have to go fast.
- You don’t need to use full power.
- This is not a conditioning workout but more technical.
This is the fun part. You can pretty much perform any technique and freestyle on the bag. Use the combos from your previous rounds and chunk them together. Or break them up and add in other combos.
Keep in mind the points to note from the previous sections.
Summary
All together the heavy bag training portion of this workout will take between 25 – 40 minutes depending on how long your rounds and rest period are.
For a standard 3 minute round of work for 6 rounds with 1.5 minute rest the heavy bag portion will take you 25 minutes. Then adding in about 10 minutes for warm up and another 10 for some stretching and pushups and situps if you like you can get this very effective workout done in about 45 minutes.
While this may not seem like much, a short but effective muay thai heavy bag workout like this will keep you progressing and developing your technique as well as conditioning over time.
Always remember, doing a little bit of work consistently over time is infinitely better than doing nothing at all and making excuses for yourself and complaining that you cant get to the gym.
All you need is a heavy bag and gloves, a watch to time your rounds and rest periods and a some commitment to make it work.
Enjoy! And all the best with your training!